Posts

Showing posts from July, 2022

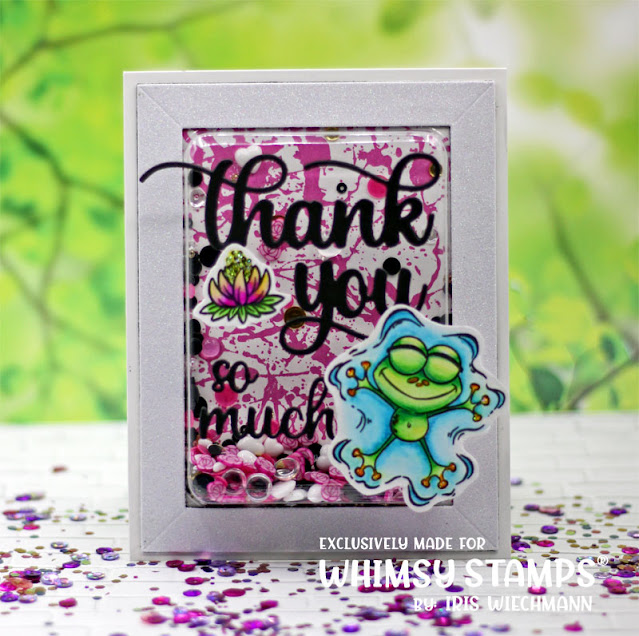
Toad-ally Awesome - Thank You Shaker Card
Image
Hey All! Last card for this month! Using several of the new July products from Whimsy (listed below). I decided to make another shaker card using the awesome shaker bauble from This Calls For Confetti. Did you know that the Mitered Frame Die fits perfectly with the shaker bauble? Makes it so easy to create a shaker card. I used the paint splatter background stamp to create my background panel. The images are from the Toadally Awesome clear stamp set and colored with Dr Ph Martins Radiant Liquid Watercolors. I used the Thank You So Much word die to create my sentiment. The shaker filling is from This Calls For Confetti as well and called Last Fling.     Thanks for stopping by today! Hugs,

It's Been A While Crocodile!

Image
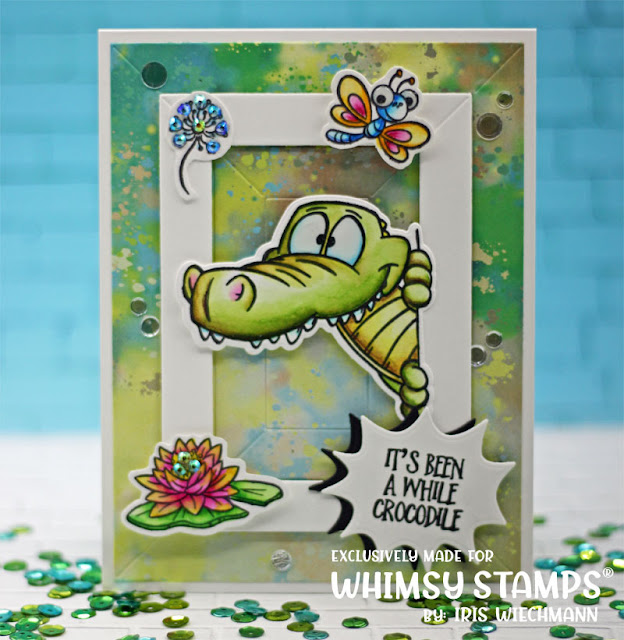
Hello Fellow Crafters! Here is another card using these adorable Insta-Gator stamps from   Whimsy Stamps !  As usual all products including designer paper are available in the Whimsy store. I used the NEW 3in1 Mitered Frames die to create some dimension on my card. The images were colored using Derwent Inktense pencils on Mixed Media paper from Strathmore. Whimsy products used: Thanks for stopping by today! Hugs,
Toad-ally Awesome

Image
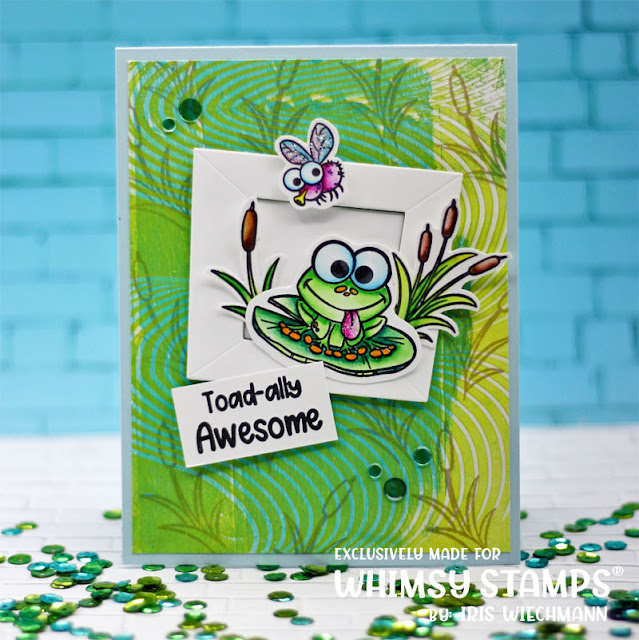
Happy Monday All! Today I am sharing a Toad-ally awesome card with you 😀 How cute is this? This stamp set is called Toad-ally Awesome and is illustrated by the super talented Krista Heij Barber. Available in the Whimsy store. For links see my product list below. How I created the card: The card base is cut from a light blue 110lb cardstock, top-fold, upright, A2 size. The background panel is 1/4" smaller than the base. For my background I used a gel-print that I had in my stash. (When I am doing gel-prints I usually make a whole bunch of various prints to keep in my stash.) I used the single cat-tail stamp from the set and stamped them all over the print using olive green ink. To color the images I used Dr. Ph. Martins Radiant Concentrated Watercolors. The white frame is from the Funky Frames die set. After stamping the sentiment onto white cardstock and fussy cutting the images I adhered all the parts to the front of my card using foam dots and glue.  Adding some con...

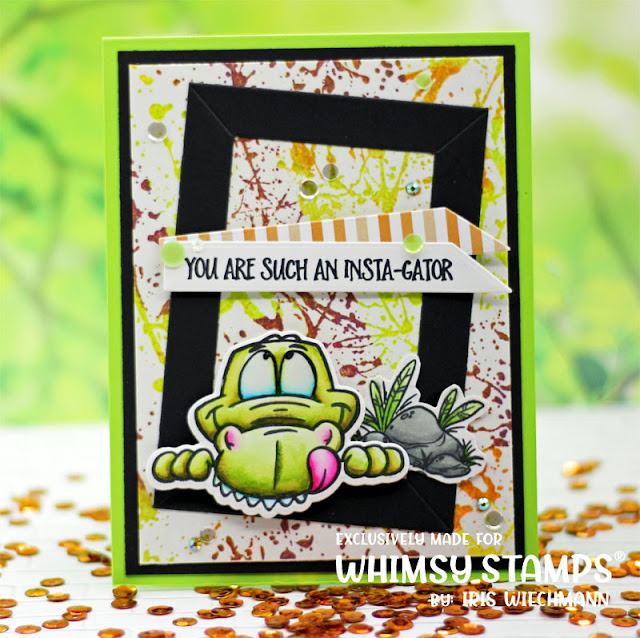
Whimsy Stamps July 20th Mini Release - You're an Insta-Gator

Image
Hi and Welcome to Whimsy's July 20th Mini Release! The new stuff is in the store now and available for you to view. On my card I combined the NEW InstaGator clear stamp set by Dustin Pike with the NEW 3in1 Mitered Frames die and the NEW Paint Splatter background stamp. I inked the NEW Paint Splatter background stamp in different colors using Versafine Clair inks. The image was colored using Dr. Ph. Martins Radiant Watercolors. See list below. I used the middle size frame and it was cut from black cardstock. To make the image pop I added some 3D glaze to the gators eyes. The sentiment is included with the stamp set. Some different matching colors sequin confetti finish off my card. Dr.Ph.Martin Radiant Concentrated Watercolors: Ice Blue, Olive Green, Tapestry, Wild Rose, Tobacco Brown, Moss Green The stones in the back were colored with alcohol Markers because I did not color them at the same time. Whimsy products used: Thanks for stopping by today! Hugs,
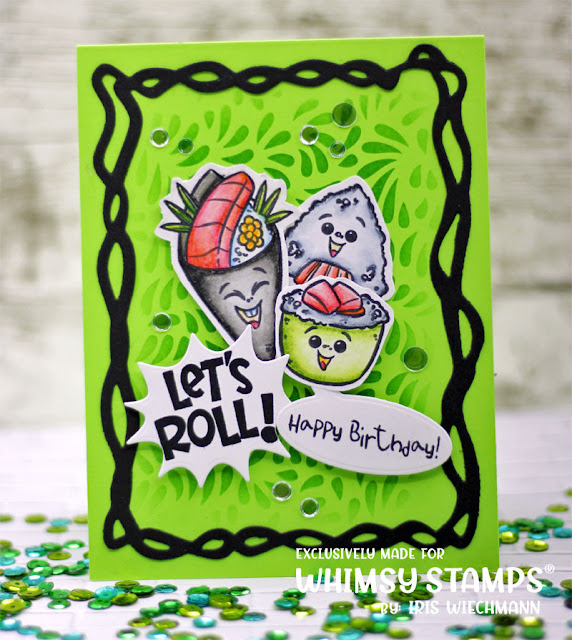
Lets Roll! - Happy Birthday

Image
Hey All! Two days late with my post for Whimsy Stamps but life interfered once again. Therefore without further ado here is another 'Sushi' card. Aren't these guys adorable? No matter if you like Sushi in real life or not 😉 A link list with all Whimsy products used is like always posted below. I used a bright green A2 size card base (110lb cardstock). The background is created using the Teardrop Splash stencil, Versafine Clair Green Oasis ink and Whimsy large blending brush.  I then die cut the Jungle Frame form black cardstock. I stamped the images and sentiments with Versafine Clair Onyx Black ink onto Strathmore Mixed Media paper. Images were colored with Derwent Inktense pencils and fussy cut. The sentiments were die cut using the Comic Speech Bubbles die set. Images and sentiments were adhered to the front of the card base with foam dots and liquid glue. is few clear confetti sequins from This Calls For Confetti finish off my card. Whimsy products used:   ...

Otterly Happy Birthday

Image
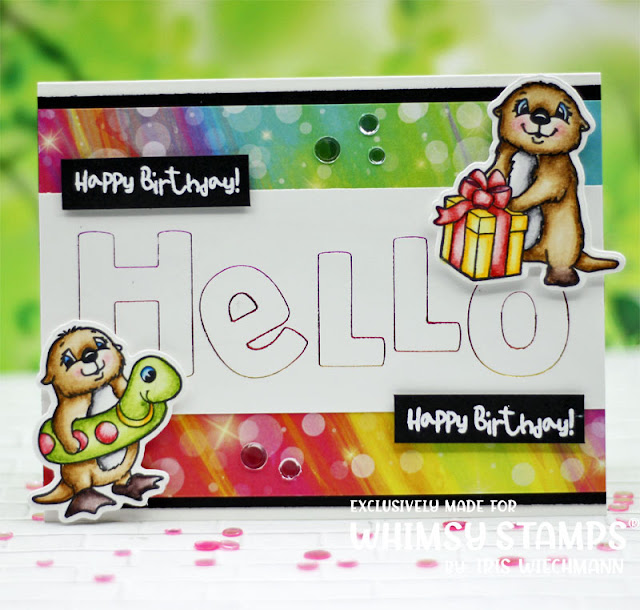
Hey friends , I'm sharing a card today showcasing the adorable otters from the 'Otter Variety' clear stamp set illustrated by Crissy for Whimsy Stamps. All product links are listed below. Card layers: Cardbase landscape A2 top-fold from white 110lb cardstock, black cardstock panel 4"x5.5", designer paper panel (Slimline Rainbow Magic) 3.75"x5.5", white Hammermill 100lb cardstock panel 2.25"x5.5". How to create the card: Stamp images onto watercolor friendly paper (I used Strathmore mixed media paper) using waterproof ink (e.g. Versafine Clair Nocturn ink). Color images using Derwent Inktense pencils (or your favorite watercolor medium). Let dry and fussy cut.  Stamp sentiment onto black cardstock with Versamark ink and heat emboss white, trim down to 1.75"x0.5".  Using the Hello word and shadow die and the Glimmer machine (or any other hot-foil system) foil the word die with rainbow Glimmer foil onto the white cardstock panel....

Sushi Time - Whimsy Stamps July 10th Mini Release

Image
Hello Crafters & Happy Sunday! The July 10th Mini Release is available in the Whimsy Stamps store now! My full panel shaker card today I am showcasing 'Sushi Time' by Krista Heij Barber.   If you are a frequent visitor of my blog you know I love to make shaker cards. Today's card is a full panel shaker. Which means the whole card front is a shaker instead of just adding a shaker element.  With the 'Full Front Shaker Pockets' from 'This Calls For Confetti'  these are super easy to make. They are also available in the Whimsy store HERE . They come in three different sizes (mini slim, slim and A2).  The images I used on my shaker card are from the NEW Sushi Time clear stamp set by Krista. They are just adorable and so much fun to color. I used my Inktense pencils to color up these cuties. I put some of the images on top of the shaker pocket and others I adhered onto the background paper before adding the shaker panel and filling. This way they are...