February 27, 2017

Acetate in Different Ways


Hi Everyone, wishing you all a happy Monday! Today I have two cards to share, my Whimsy DT makes for last week and this week. Wrapped up in one posting because somehow I ran out of time last week...pfff.

Ok here we go. This is my first card using the Lovely Lavender set from the Clearly Whimsy Stamps Collection.

I made the background with my Distress markers and an acetate sheet inspired by a technique called Smackin' Acetate. You can find a tutorial HERE. It's super simple with a great effect.
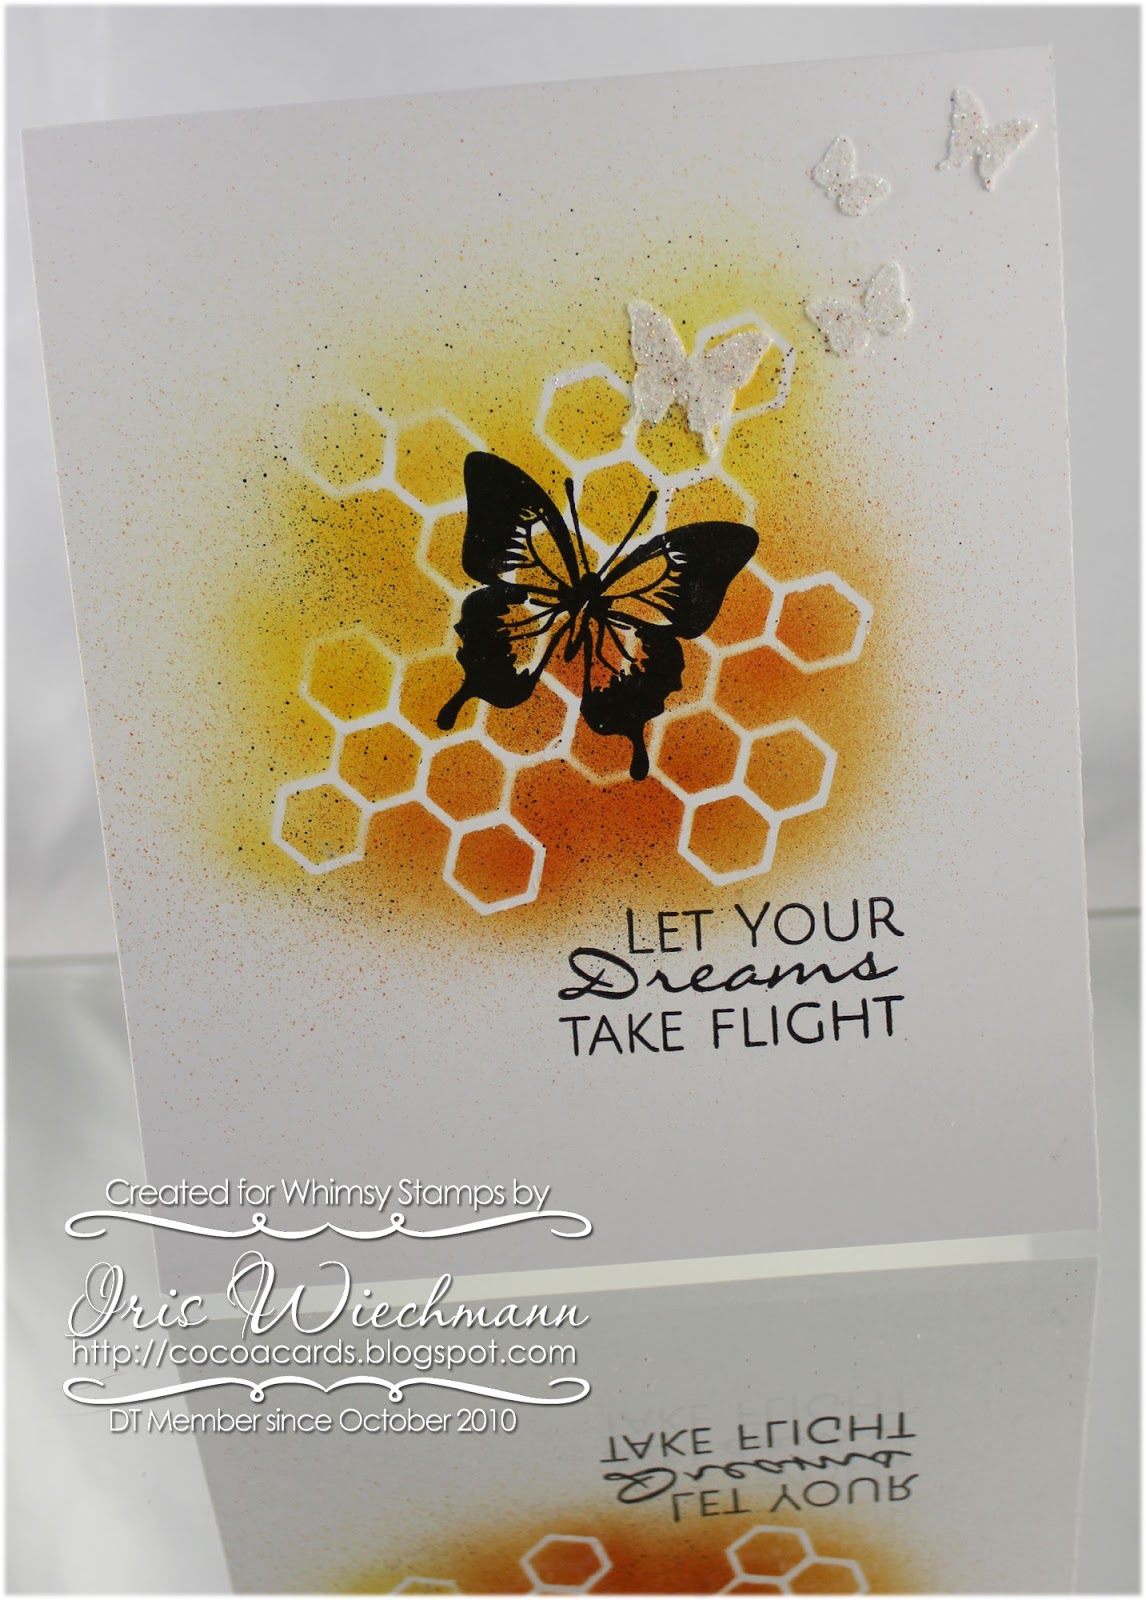
I stamped over the background with Versafine Onyx Black ink and added just a few pearls and rhinestones.


I love my acetate sheets at the moment :-) Here is a card with an acetate overlay. This technique has been on my to do list for quite a while now. This is such a stunning effect, I looooove it!

This super cute little kitty is from the Clearly Whimsy Purrfect Pals clear set by our very own  Tracy. I just love her designs! I colored using Inktense pencils. I stamped the image and the sentiment (it's from the same set) with Versafine Onyx Black ink onto 140lb Canson watercolor paper


here is a closer look at the image

I used the following Inktense colors:

0260 Burnt Orange
1210 Dark Aquamarine
1540 Light Olive
1800 Baked Earth
2120 Neutral Grey

When coloring with Inktense pencils I always use the "Brush to Tip" technique, at least that is what I call it. It means with my wetted brush I take some color directly from the pencils tips. Inktense pencils are very intense and vibrant and you get an overload of color if you color directly with your pencils on your image. At least for water coloring stamped images it is too much in my opinion. Or I should say for the look I like to achieve with them. It all comes down to a personal preference. For other coloring techniques this might be just perfect. You can also use these dry like e.g. Prisma pencils. I prefer the wet technique using these. I also always work only on small areas at a time. Inktense pencils behave pretty much like water colors but once they are dry they are waterproof and you can not reactivate them anymore unlike watercolors. Working on small areas gives you enough time to lay down your color and blend before the ink dries. A great advantage is that you can layer colors easily because of the waterproof nature of these pencils. I also love the vibrant colors.


Ok back to the acetate overlay now:
I dry embossed the acetate for a 3D effect which I think gives it a really cool look. I used a Cuttlebug embossing folder called Spots and Dots. The acetate sheet I used was from Grafix in a .005 medium thickness. It embossed perfectly but for my taste the acetate was a bit too thin to be a perfect overlay. It did not stay as flat on my card as I wished for. I used a tiny glue dot to hold it down on one corner. It worked, it's just not perfect! Next time I am using a thicker sheet. I already ordered me .007 which is just slightly thicker and still considered medium weight and also the .020 which is more a heavy weight acetate. 


For even more 3D effects I die cut the word birthday using the Whimsy Shapeology large word die 'Birthday' and heat embossed it with copper and green, both metallic embossing powders by Zing. I adhered it on top of the acetate sheet and the dot from the i is made using NUVO Crystal Drops in Golden Sunset.


Thanks for dropping by!

Hugs,


February 15, 2017

Hearts, Hearts, Hearts and DIY Stencil


Happy Wednesday Stamping Friends! Today I have a little How-To to share. Did you know that Whimsy Stamps sells DIY Stencil sheets for making your own stencils? It is super fun and also super easy to make your own stencils.

You just use dies and cut out your favorite shapes and voila you have a stencil. I used the heart border die from the Card Builder - Hearts of Love set. I cut it 4 times using one of the blank stencil sheets. You just have to be careful when placing your dies on the sheet multiple times that it doesn't overlap where you already have cut outs. I used washi tape to secure the die on the stencil sheet to keep it from shifting. It's best to offset the dies when making kind of a background stencil like I did here.. As you can see on my stencil I rushed and didn't pay enough attention and two of the smaller hearts are too close together. Oh well, it is not perfect but I will use it anyway. ;-)

 
Here is the card where I used the stencil. I made my own background paper using Distress Crayons and my newly made stencil. (using the baby wipe technique) Then I cut out the large heart using the smallest die from the Stitched Hearts die set.

The large heart was also heat embossed in black around the edges. The small heart and the stitched heart border are also from the Card Builder - Hearts of Love set. The sentiment is from the newly released Friendly Flowers set. To create the red matching background I used a Distress marker (candied apple) and the Distress marker "Spritzer Tool" . A button and some burlap twine finish off my card.


February 10, 2017

Day 3 of the Whimsy Stamps February Release


Hello Peeps and Happy TGIF! The release party goes on! idf you haven't checked out the new stamps yet click here to see all of the new products.

Today I have a card to share using the NEW Friendly Flowers set.

Another clean and simple creation. I just added a ribbon and some sequins to embellish the card.

Don't forget to visit our Whimsy Stamps and Inspirations Facebook group to celebrate with us and the Whimsy blog to see a list of participating DT members for more new  release creations.

Wishing you all a wonderful weekend.

Hugs,


February 9, 2017

Day2 of the Whimsy Stamps February Release


Hello Everyone! Welcome to Day2 of the Whimsy Stamps February Release! Please visit our Whimsy Stamps and Inspirations Facebook group to celebrate with us! You can join us for games, fun, and a chance to win Whimsy prizes too. 

Here our my creations for Day 2 of the Release Party:


*New* Bee-cause by Krista Heij-Barber colored with Copics on a CAS one layer card. I also used the *NEW* Shapeology Honeycomb Pattern Die. The background is done with Copic airbrush and black speckles are added with Distress marker and the Distress Spritzer Tool.
To easily adhere the cut out honeycomb pattern I sprayed it with spray adhesive. Works like a charm and no messy gluey fingers ;-).


Here we have Furry Friends by our very own Tracy Wray! I love this cute doggie set! Colored with Copics and and the background is done with Pitt Pastels. I stamped the image on the inside of the card and cut out a circle on the front so you can see through. All stamps used on my card are from the set.


Here is the inside:


Thanks for stopping by and make sure to visit our Whimsy Stamps and Inspirations Facebook group to celebrate with us and the Whimsy blog to see a list of participating DT members for more new  release creations.

Thanks for stopping by and see you here again tomorrow when I'll be sharing my creations for Release Day 3

Hugs,


February 8, 2017

Whimsy Stamps February Release Is Here!


Today kicks off our February 2017 release party over in our Whimsy Stamps and Inspirations Facebook group. You can join us for games, fun, and a chance to win Whimsy prizes too.

We are releasing 12 new red rubber images and 6 new clear stamp sets. There is definitely something for everyone. Everything is available NOW to purchase. Click here to see all of the new stamping goodness. 

Here are my creations for Day 1 of our release celebrations:


This is Frog Friend by Crissy Armstrong, available in the Whimsy store now in rubber! I colored the image using Distress Markers. The sentiment is stamped using the NEW Clear set Typograhy.

My second card is CAS style and showcasing again the NEW Clear set Typograhy:


Thanks for stopping by and make sure to visit our Whimsy Stamps and Inspirations Facebook group to celebrate with us and the Whimsy blog to see a list of participating DT members for more new  release creations.

Thanks for stopping by and see you here again tomorrow when I'll be sharing my creations for Release Day 2

Hugs,


February 4, 2017

Mixed Media Butterflies Tag


Happy Weekend All! I had a play with my new Distress Crayons today ...soooo much fun to get a bit messy and play with all the ink, crayons, paint, paste etc.


I decided to go mixed media and made a tag using Clearly Whimsy's Flight of the Butterflies set, the Honeycomb Pattern die, the Butterfly Stencil  as well as the Clearly Whimsy "Lovely Lavender" set.

Hope you like it!
Enjoy your weekend.

Hugs,


February 2, 2017

Whimsy February Digi Release - You Are My Valentine


Hello Friends and Happy Groundhog Day! Hope the weather is the nicest wherever you are! ;-) Guess we got lucky, here it is sunny and blue skies...just perfect :-D

Did you see the New Digital Products that were released yesterday. Super cute images by Crissy Armstrong as well as papers and Sentiment sets and papers by Tracy Wray. Click HERE to have a look. They are absolutely gorgeous!

I had a play with the adorable New Digital Penguin Valentine and also used a sentiment from the New Digital Various Occasions Sentiment Set.

I colored this little love bug with my Copics. It is a CAS one layer card and I wanted to add some kind of embellishment without over doing it. So I decided to add some stitches using the recently released Clearly Whimsy set In Stitches. Aren't they fantastic? I think they look so real! I love this set.

Make sure you visit our facebook group HERE for even more Whimsy inspiration. thanks for visiting today!

Hugs!


January 26, 2017

Lovely Monstery Shaker Card


Hello Everyone and Happy Thursday! Today I want to share a fun Shaker card with you. I used the super cute Love Day Monster clear set from Whimsy's January release as well as the brand new in store Valentine Sequin Assortment


I colored the little monster with Copics as well as the heart with the arrow which is from the same set. The word die was cut out from white glitter paper and is from Whimsy's Shapeology Collection from the Card Builder - Hearts of Love Set. The DP is from an older Basic Grey set called Kneehighs.

Hugs,


January 19, 2017

If Friends Were Flowers.... - Whimsy Stamps 'Loveley Lavender'


Hello All! This is a CAS card I made using the newly released Clearly Whimsy Stamps set "Lovely Lavender".

I made the background using Faber Castell Gelatos. After the colors where dry I stamped the flowers and saying using Versafine ink black. The little butterfly was heat embossed using a garnet colored embossing powder. I added some violet Stickles to the smaller lavender flowers and on the tall flower I used a clear gel pen to add some bling.

On the inside I stamped the second part of the saying and again the large flower, to match the outside. This time I used Memento ink. The first time I stamped using LULU Lavender and a second time Sweet Plum to match my colors on the outside.

Thanks for visiting!

Iris


January 16, 2017

Whimsy Butterflies Stencil "How - to"


Hello All and Happy Monday! Did you see the awesome newly released Butterflies Stencil in the Whimsy store? I love how versatile it is and want to share some ideas with you on how to use it in different ways.

The stencil is 4 x 6 inches in size and 0.188mm in thickness. It is made using a smooth plastic and both sides have a slightly shiny surface which makes clean up real easy. To enjoy your stencil for a long time I recommend storing it flat and clean it up right after each use.
*NEW Butterflies Stencil
Sponging with inks, paints and stains are one of the most common techniques to use stencils. While you can achieve beautiful effects with these techniques, I love to add dimension to my cards and projects.
Here I am using a 3D paste with a nice pearlescent pink shimmer (Nuvo Embellishment Mousse). I've placed the stencil over my cardstock and secured it with some Washi tape to keep it from shifting. (I always work on a Teflon sheet covered work space - makes cleaning up ink and pastes a breeze as well as tape/glue removal.) Applying the paste with a spatula is best but a popsicle stick will work too if you don't have a spatula.

Carefully lift the stencil from the cardstock not to smudge your image. Let the 3D paste dry. Clean up your stencil with warm water and soap immediately.
Another way to achieve a dimensional effect is using modeling paste. Apply it the same way as you would the 3D paste.

Leave it like it is and let dry for a more simpler look - or after it's dried you could re-attach the stencil and sponge the butterflies with ink.


For some more bling add glitter to the still wet modeling paste and let dry. Clean up your stencil with warm water right after you're done. Don't let the modeling paste dry on the stencil. This might ruin your stencil.
Using your stencil with the heat embossing technique gives a nice dimensional effect as well:
Prepare your paper for heat embossing and then place your stencil over the paper. Secure it with Washi or masking tape so it wont shift.
Thoroughly apply embossing ink - I used Versmark. Carefully remove the stencil and applu embossing powder immediately. Heat set from underneath.


Depending on your choice of embossing powder you can achieve different effects - metallic, pearlized, opaque, distressed etc.
Use the stencil together with the Copic airbrush system:
I used Washi tape again to hold the stencil in place and to cover the areas (in my case butterflies) I did not want to add color to.


 It works quite well, what do you think? I used two different shades of  teal to get some more effect.


The smooth and shiny surface of the stencil is easy to clean. Just use rubbing alcohol to clean your stencil from the Copic over spray. This will not damage your stencil!


An absolute fun technique is "Stamping through your Stencil":
First use the sponging technique to apply color the the butterflies. I used distress inks in yellow and a darker orange color. Let dry.


Now choose a stamp with a pattern that will fit your stencil. I chose a flower stamp set called "Friendly Flowers".  Yes, it is a clear set from Whimsy and will be released in February *sneak peek* ;-) Text or script stamps work well too. I stamped using Memento Tuxedo Black Ink.


Remove the stencil and voila! You have a very nice contrasting effect. I used Memento and Distress inks, both dye inks, which will clean up nicely from your stencil. Pigment ink might leave some stains on your stencil and StazOn for sure does.
I stamped more grass at the bottom to match the butterflies and added little antennas to the butterflies with a very fine Copic Multiliner Pen.


Here's the finished card. The sentiment is from the newly released "Flight of the Butterflies" clear stamp set.
Thanks for visiting and I hope you liked my stencil tips. Don't forget to share all your Whimsy creations over in our facebook group. We love to see what you create!


Hugs & Luv,


January 12, 2017

Day 2 of the Whimsy January Release


Hello All and Welcome to Day 2 of the Whimsy January Release! The January 2017 release party continues over in our Whimsy Stamps and Inspirations Facebook group. You can join us for games, fun, and a chance to win Whimsy prizes too. Here is the link to the party event!

Here are my DT projects for the second release day: 

This is NEW Birthday Cow by Crissy Armstrong, available NOW in rubber! I'm in love with this image, too adorable! I colored it with my Copics. Sentiment is from the NEW Loveley Lavender Clearly Whimsy Stamps set. I also used together with my flower arrangements the NEW Honeycomb Pattern die. This die is so versatile, it's amazing and like with all the Whimsy dies, cutting is a charm.


My second card for today is a shaker card using the New Happy Sayings Die Set and the matching Happy Sayings clear set.
For the shaker filling I used the New Valentines Sequins and also added some coarse pink glitter granules. DP is from the Whimsy digital paper set Fresh Rose. The frame is cut with a die from the Shaker Builder - Sweetest Birthday die set.

To join our release party event, just pop over to the Whimsy group any time between January 11-13, this Wednesday through Friday.  We hope to see you all there!


January 11, 2017

Whimsy Stamps January 2017 Release

 Whimsy January Release - Rubber and Clear


This month, we are releasing the following new stamps and dies:

4 new stamps from Crissy Armstrong
3 new stamps from Lee Holland
2 new stamps from Wee Stamps
2 new stamps from Krista Heij-Barber
3 new stamps from Kirsten Winkelbauer
and finally - 6 new clear stamps and 2 new dies and 1 stencil
Have a peek at them all on our Whimsy Inspirations Blog!
GREAT NEWS - all of the new products are available to purchase from the Whimsy Stamps shop NOW!
Today kicks off our January 2017 release party over in our Whimsy Stamps and Inspirations Facebook group. You can join us for games, fun, and a chance to win Whimsy prizes too.
Here is the link to the party event!
 
Here are my DT cards for today:
 
 This is "Betty and Bob" by Wee Stamps, colored with Copics on a fairly clean and simple style card. I also used the In Stitches clear stamp set. DP is from the digital Butterfly Breeze 2 papers.


A real CAS and one layer card using the new Honeycomb Pattern die - cut out and used as stencil with Copic airbrush - as well as the Butterfly Stencil and the Flight of the Butterflies clear set

To join our release party event, just pop over to the Whimsy group any time between January 11-13, this Wednesday through Friday.  We hope to see you all there!


Hugs,